Getting Consistent Results with Hand-Mixed Pigment Powders

Why does my hand-mixed paint look different every time?
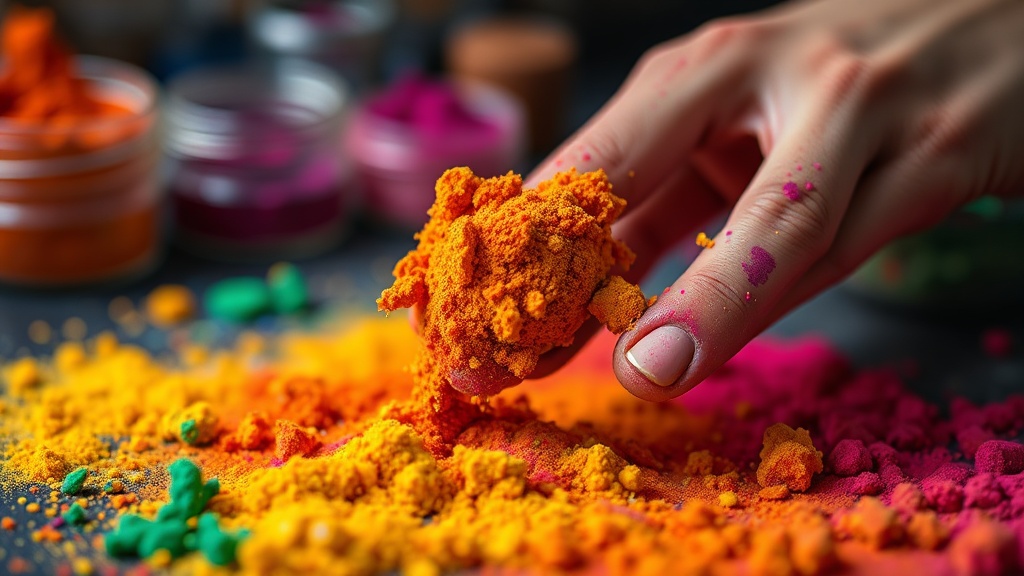
Have you ever spent hours carefully grinding a pigment only to find that the second batch looks completely different from the first? It's frustrating. You follow the same ratio, use the same binder, and yet the color-to-texture relationship shifts. This happens because pigment dispersion—the way a solid particle sits within a liquid medium—is a physical process that isn't just about math. It's about how much energy you put into the mixture. If you aren't controlling the particle size and the wetting process, you're essentially playing a guessing game with your palette.
When working with raw pigments, you aren't just mixing colors; you're managing chemistry and physics. A pigment might be highly absorbent or incredibly oily, meaning it demands a specific approach to wetting. If the particles don't sit evenly in the binder, you'll end up with streaks, lumpy textures, or colors that look dull once they dry. This guide focuses on the practical steps to ensure that your hand-mixed batches remain consistent across multiple sessions.
What tools do I need for grinding pigments?
You can't just stir a powder into a jar of oil or gum arabic and call it a day. To get a professional-grade finish, you need tools that actually break down the particle clusters. Here is a basic checklist of what you'll need for a reliable setup:
- A Glass Muller: This is a heavy, glass rod with a flat base used for grinding pigments on a slab. It's the gold standard for a reason.
- A Glass Slab: A flat, non-porous surface like a thick piece of glass or a high-quality porcelain tile.
- A High-Quality Binder: Whether you're using linseed oil for oils or gum arabic for watercolors, the quality of your base determines the longevity of the pigment.
- A Scale: Measuring by volume (teaspoons or drops) is a trap. You need to weigh your pigment and binder in grams to ensure consistency.
If you're looking for high-quality raw materials, checking out specialized suppliers like Natural Pigments can help you find pure, unadulterated powders that behave predictably. Avoid cheap, multi-purpose "craft" pigments if you want to build a professional-grade paint library.
How do I properly wet a pigment?
Wetting is the most overlooked step in the process. When you first combine a dry pigment with a liquid binder, the powder often resists the liquid, forming tiny, dry pockets. This is known as "clumping," and it's the enemy of smooth paint. To prevent this, you must use a process called pre-wetting or dispersion.
Start by placing your pigment in a small pile on your glass slab. Create a small well in the center—think of it like a volcano—and add your liquid binder into that well. Use your muller to gently work the liquid into the powder. You aren't trying to grind yet; you're just trying to get every single grain of powder coated in the liquid. Once the mixture looks like a thick, uniform paste without any dry powder visible, you can begin the actual grinding process. This step ensures that the pigment-to-binder ratio is actually uniform throughout the batch.
How long should I grind for a smooth texture?
This is where the actual work happens. Once your pigment is properly wetted, you'll use a circular, rhythmic motion with the muller to apply pressure. You're essentially crushing the pigment particles into the binder to break up any remaining aggregates. This requires patience. Depending on the coarseness of your pigment, this could take anywhere from five to twenty minutes of active grinding.
A good rule of thumb is to check the texture frequently. Rub a tiny bit of the mixture between your thumb and forefinger (carefully, as some pigments can be irritating). If it feels gritty or sandy, it's not done. It should feel like a smooth, creamy paste. If you're working with heavy minerals or coarse pigments, you might need to use more force, but don't sacrifice the precision of your strokes. Constant, controlled pressure is better than erratic, heavy-handed movements. If you want to understand more about the chemistry of light and color, the resources at Britannica offer deep dives into how different mineral structures affect color intensity.
Common Mistakes to Avoid
One mistake I see frequently is over-wetting the mixture. If you add too much binder at the beginning, the pigment will just float on top of a puddle, and you'll lose the ability to grind effectively. It's much easier to add a drop of binder later than it is to try and thicken up a runny, inconsistent mixture. Another issue is the "hidden dry spot." Sometimes, a patch of pigment looks wet on the surface but remains a dry powder underneath. Always scrape the edges of your pile as you grind to ensure the entire mass is being worked.
Finally, be mindful of your environment. If you're mixing in a very dry room, your binder might evaporate faster than expected, causing the mixture to stiffen prematurely. Keep a small dropper or a pipette handy to add tiny increments of liquid if the paste becomes too thick to move across the slab. This level of control is what separates a hobbyist from someone who truly understands their medium.