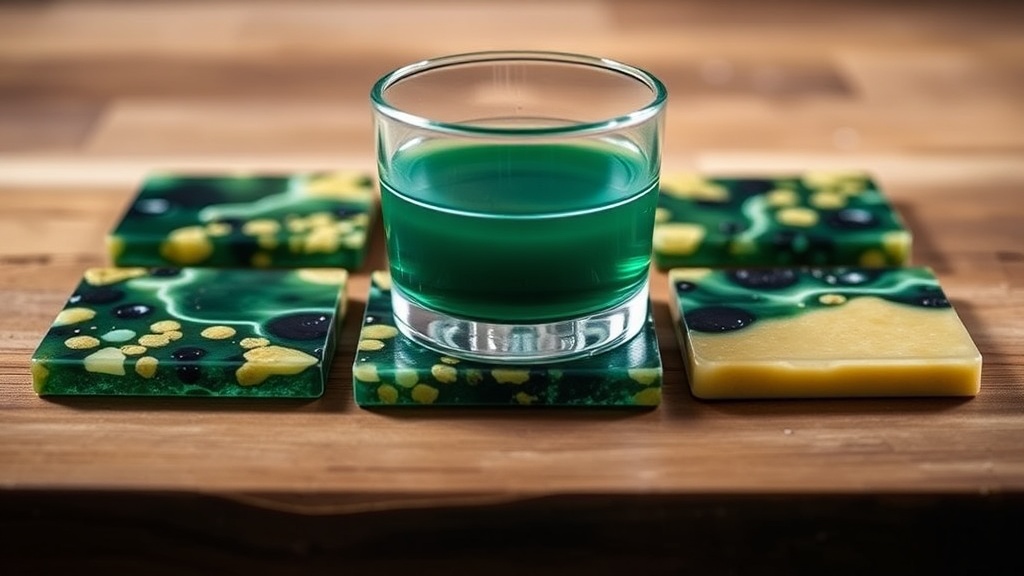
How to Make Stunning DIY Resin Coasters That Actually Look Professional

Most DIY resin projects fail for one reason: people rush. Resin rewards patience, precision, and a bit of restraint. If you’re tired of cloudy finishes, sticky surfaces, or coasters that look like a science experiment gone wrong, this guide will walk you through a process that actually works.

What You’ll Need Before You Start
Don’t improvise your materials. Resin is unforgiving when you substitute or skip steps. Here’s what actually matters:
- Epoxy resin (casting or art-grade)
- Silicone coaster molds
- Mixing cups and wooden sticks
- Nitrile gloves
- Heat gun or torch
- Pigments, alcohol inks, or dried flowers
- Level workspace
Cheap resin is usually the reason beginners quit. Spend a little more upfront and you’ll avoid most frustrations.

Step 1: Prep Your Workspace Like You Mean It
Resin flows. That means your surface must be perfectly level. Use a small level tool or improvise with a smartphone app. Cover your workspace with plastic or silicone mats because resin does not forgive mistakes.
Temperature matters more than most guides admit. Aim for 70–75°F (21–24°C). Too cold and your resin thickens and traps bubbles. Too hot and it cures too fast.
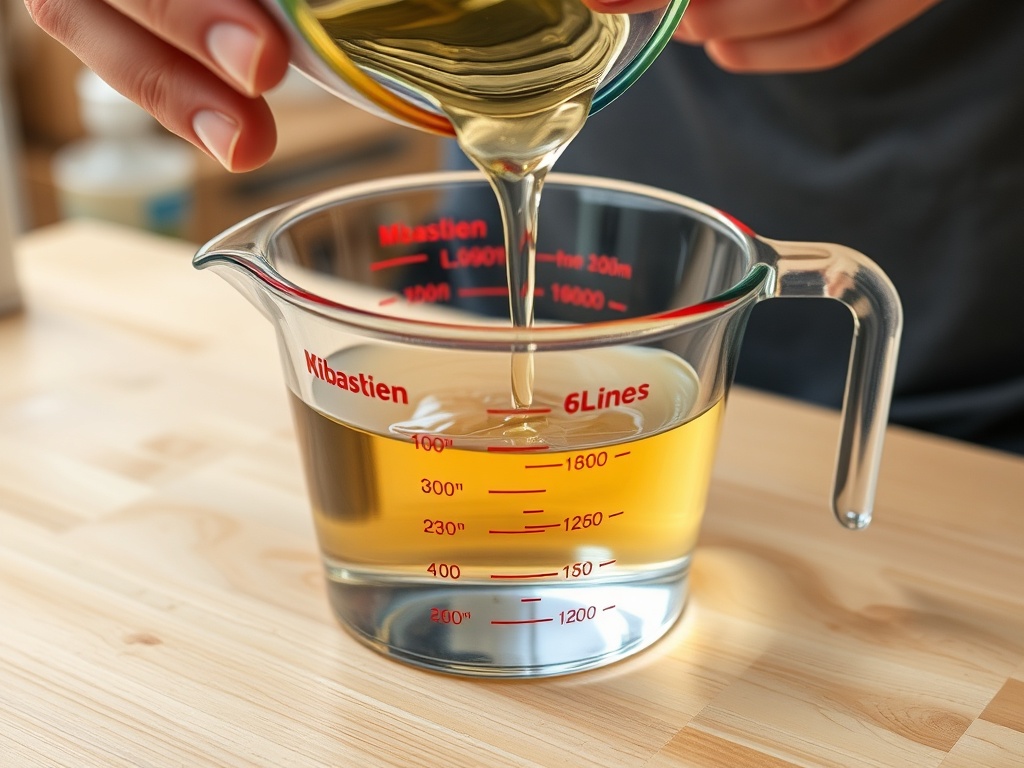
Step 2: Measure Precisely (No Guessing)
Most epoxy resins use a 1:1 ratio, but don’t assume—read the label. Measure by volume unless the manufacturer specifies weight.
Pour Part A and Part B into separate cups first, then combine. This reduces the chance of uneven mixing.
Step 3: Mix Slowly and Thoroughly
This is where most projects go wrong. Stir slowly for at least 3–5 minutes. Scrape the sides and bottom constantly. Fast stirring introduces bubbles that will haunt your final piece.
The mixture should become clear and slightly thicker. If you still see streaks, keep mixing.
Step 4: Add Color and Design Elements
Now you can get creative—but restraint wins here. A few drops of pigment go a long way. Overloading resin with additives can prevent proper curing.
- Use alcohol inks for fluid, marble effects
- Add dried flowers for organic designs
- Use mica powder for metallic finishes
Mix gently again after adding color to avoid introducing air.
Step 5: Pour Into Molds Carefully
Pour slowly into one spot and let the resin spread naturally. This reduces trapped air. Don’t overfill—resin self-levels but can overflow if you push it.
If you’re layering designs, pour in stages and allow partial curing between layers for clean separation.
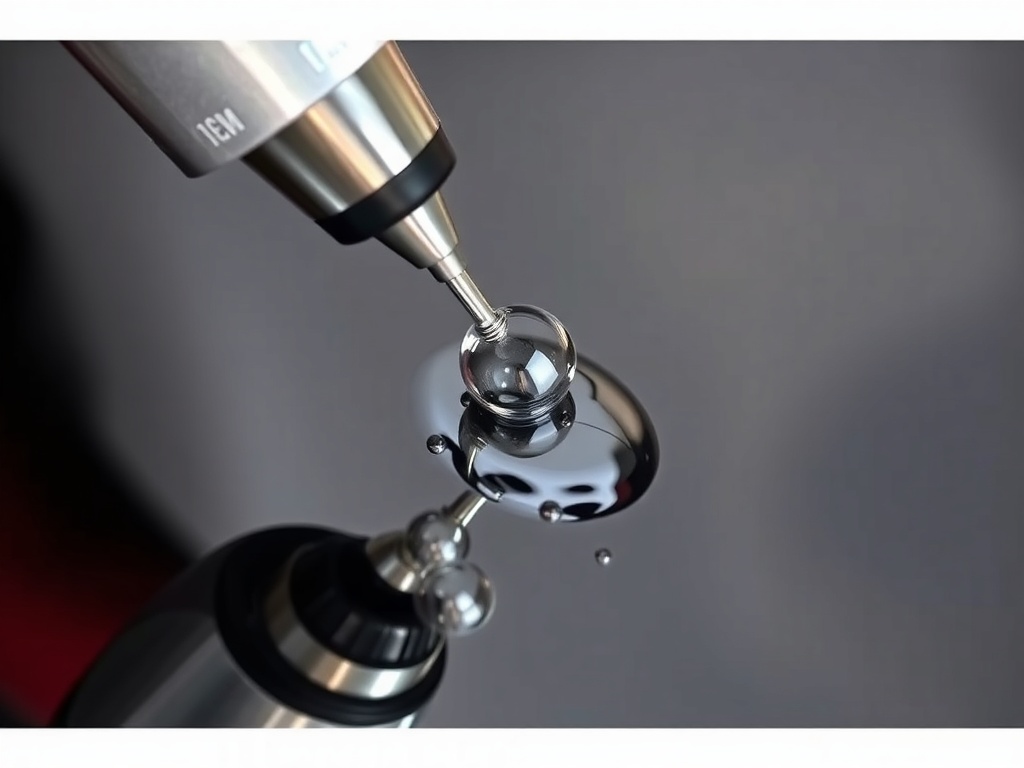
Step 6: Remove Bubbles the Right Way
Use a heat gun or small torch lightly over the surface. You’ll see bubbles rise and pop almost instantly.
Keep the heat moving—holding it in one place can scorch the resin or warp your mold.
Step 7: Let It Cure Without Interference
This is where patience pays off. Cover your molds to protect from dust and leave them undisturbed for 24–48 hours.
Touching too early is the fastest way to ruin a perfect finish.
Step 8: Demold and Finish
Once fully cured, gently flex the silicone mold to release your coaster. If edges feel sharp, lightly sand them with fine-grit sandpaper.
For a professional finish, you can add a thin topcoat layer of resin for extra gloss.
Common Mistakes That Ruin Resin Coasters
Even experienced crafters mess this up occasionally. Here’s what to avoid:
- Cloudy finish: Usually from moisture or poor mixing
- Sticky surface: Incorrect ratios or incomplete mixing
- Too many bubbles: Stirring too fast or pouring too quickly
- Warped shape: Uneven surface during curing
If something goes wrong, don’t toss it immediately. Many mistakes can be fixed with sanding and recoating.
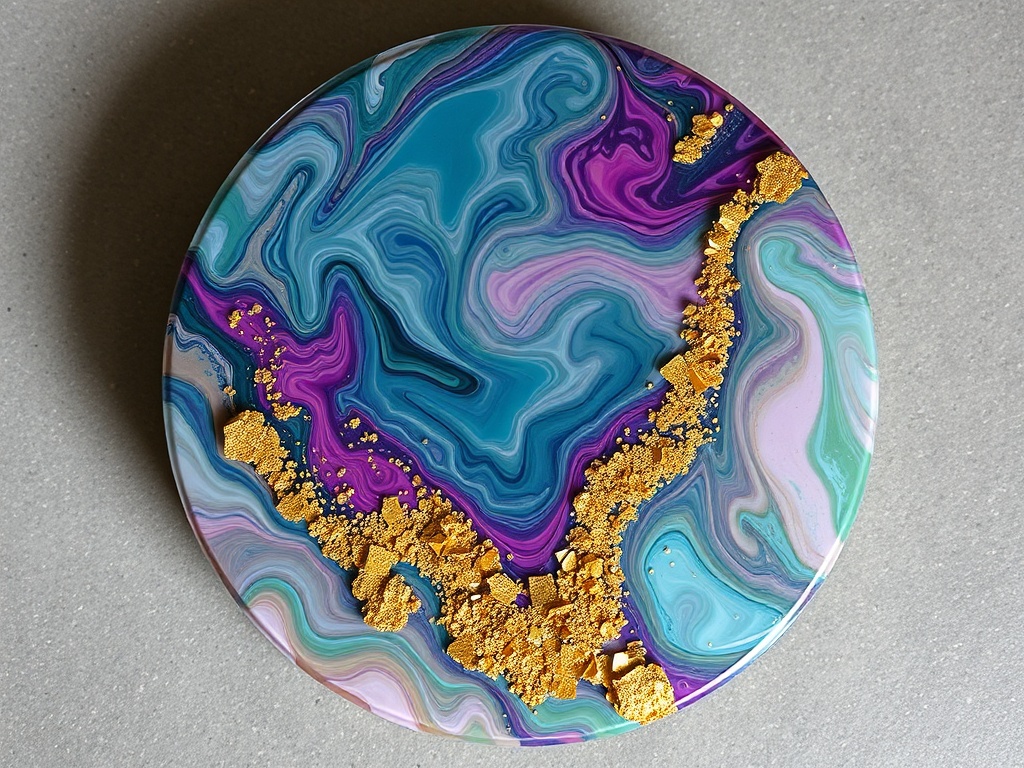
How to Make Your Coasters Look Expensive
The difference between amateur and professional isn’t talent—it’s restraint and finishing.
- Stick to 2–3 colors max
- Use negative space intentionally
- Add metallic accents sparingly
- Finish edges cleanly
Look at high-end designs and copy the simplicity, not the complexity.
Final Thoughts
Resin work looks intimidating, but once you understand the process, it becomes predictable. Focus on clean execution, not flashy designs, and your results will improve fast.
The first batch might not be perfect. The second will be better. By the third, you’ll start seeing results that look like something you’d actually buy.
Steps
- 1
Prep Your Workspace
- 2
Measure Precisely
- 3
Mix Thoroughly
- 4
Add Color and Design
- 5
Pour Into Molds
- 6
Remove Bubbles
- 7
Let It Cure
- 8
Demold and Finish