The Adhesion Equation: Making Sense of Craft Glues and Bonds

What kind of adhesive does my project actually need?
Did you know that the earliest evidence of human-used adhesive dates back over 200,000 years, when Neanderthals employed birch tar to haft stone tools? For centuries, we’ve relied on clever ways to stick things together. Yet, in our modern craft rooms, the sheer variety of glues can feel overwhelming, a sticky quagmire of confusion. Choosing the right adhesive isn’t just about making things hold; it’s about ensuring your creations last, preventing frustrating failures, and ultimately, enjoying your craft more. This guide aims to demystify the world of craft glues, helping you select the perfect bond for any project you tackle.
First, let’s consider the most common players you’ll find lining the shelves:
- PVA (Polyvinyl Acetate) Glues: These are your workhorses—think white school glue, wood glue, and general craft glues. They’re water-based, non-toxic, and dry clear (mostly). They’re fantastic for porous materials like paper, fabric, wood, and cardboard. The downside? They need clamping or pressure, and they aren’t waterproof unless specifically formulated to be. Drying time can also be a test of patience, especially with thicker applications.
- Hot Glue: For instant gratification, hot glue is king. It cools quickly, providing an almost immediate bond. It’s great for temporary holds, quickly assembling prototypes, or working with tricky, irregular shapes where clamping is difficult. But be warned: hot glue offers a relatively weak bond compared to other options, is prone to softening with heat, and can be frustratingly stringy. It also tends to create a visible, sometimes clunky, bond.
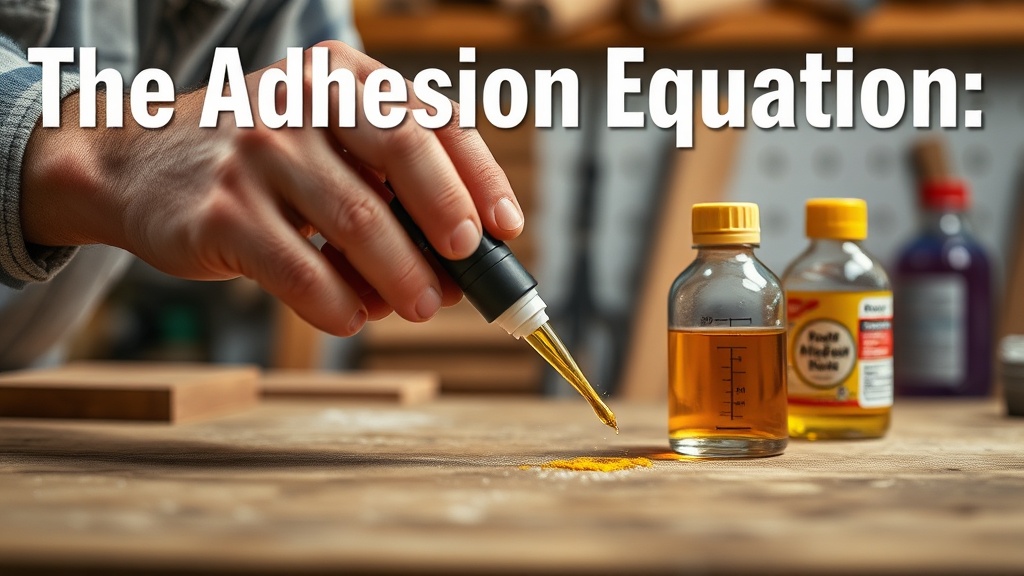
- Cyanoacrylate (CA) Glues – "Super Glue": Need something to stick *now*? CA glues are incredibly fast-acting and create a very strong bond on non-porous surfaces like plastic, ceramic, metal, and glass. They cure by reacting with tiny amounts of moisture in the air or on the surface. However, they’re brittle once dry, meaning they don’t handle flexing or impact well. They also have a short shelf life once opened, and you’ll want to work in a well-ventilated area—and try not to glue your fingers together.
- Solvent-Based Adhesives (e.g., E6000, GOOP): These glues offer exceptional flexibility and a strong, durable bond across a wide range of materials, including fabric, metal, glass, plastic, and even some porous surfaces. They’re often water-resistant or waterproof once cured. The major consideration here is ventilation; these glues release fumes as they cure, so always use them in a well-aired space. They also take a while to fully cure—sometimes 24 to 72 hours—though initial tack can happen sooner.
- Fabric Glues: Specifically formulated for textiles, these glues remain flexible after drying, which is absolutely critical for wearable items or anything that needs to move without cracking the bond. Many are machine washable and dryable, making them an excellent alternative to sewing for certain applications.
- Spray Adhesives: Ideal for large surface areas like mounting posters, adhering fabric to foam, or creating temporary stencils. They offer quick, even coverage, but can be messy. You’ll find both temporary and permanent formulations. Always spray in a well-ventilated area or outdoors to avoid inhaling particles and to contain overspray.
- Epoxy: For the strongest, most permanent, and often waterproof bonds, you can’t beat two-part epoxy. You mix a resin and a hardener just before use, which then undergo a chemical reaction to create an incredibly tough bond. Epoxy excels on metal, glass, ceramics, wood, and some plastics. It’s perfect for repairs or projects demanding maximum strength, but it requires precise mixing, has a short working time, and is generally more expensive.
When selecting your weapon of choice, always consider the materials you’re joining. Are they porous (wood, paper, fabric) or non-porous (metal, plastic, glass)? Do you need flexibility or rigidity? Will the item be exposed to water or heat? These questions are your roadmap.
How do I apply craft glue for the best bond?
Picking the right glue is half the battle; applying it correctly wins the war. Too often, crafters blame the glue when application technique is the true culprit. There are a few universal truths to achieving a strong, lasting bond:
- Surface Preparation is Not Optional: This is arguably the most ignored step, yet it’s probably the most important. Glue adheres to the surface, not to dust, oil, grease, or old adhesive residue. Clean your surfaces thoroughly. For plastics or metals, a quick wipe with rubbing alcohol can remove invisible oils. For wood, light sanding can provide a better “tooth” for the glue to grip. Don’t skip this. Your bond will thank you. For further reading on surface preparation in various contexts, you might find resources like this