Why Your Ceramic Glaze Results Look Different Than the Sample

The Misconception of the Perfect Test Tile
Many makers assume that if they follow a recipe exactly, the result will look identical to the manufacturer's catalog photo. This isn't the case. Glaze chemistry is notoriously fickle; a tiny shift in kiln temperature or even the mineral content of your local water can change a glossy blue into a dull matte. If you've ever felt frustrated that your finished piece looks nothing like the sample tile, you aren't doing anything wrong—you're just dealing with the inherent variables of high-heat chemistry.
This post examines why those discrepancies happen and how you can start predicting your outcomes more accurately. We'll look at the variables that actually matter, from kiln atmosphere to the chemistry of your clay body.
Why does my glaze look different after firing?
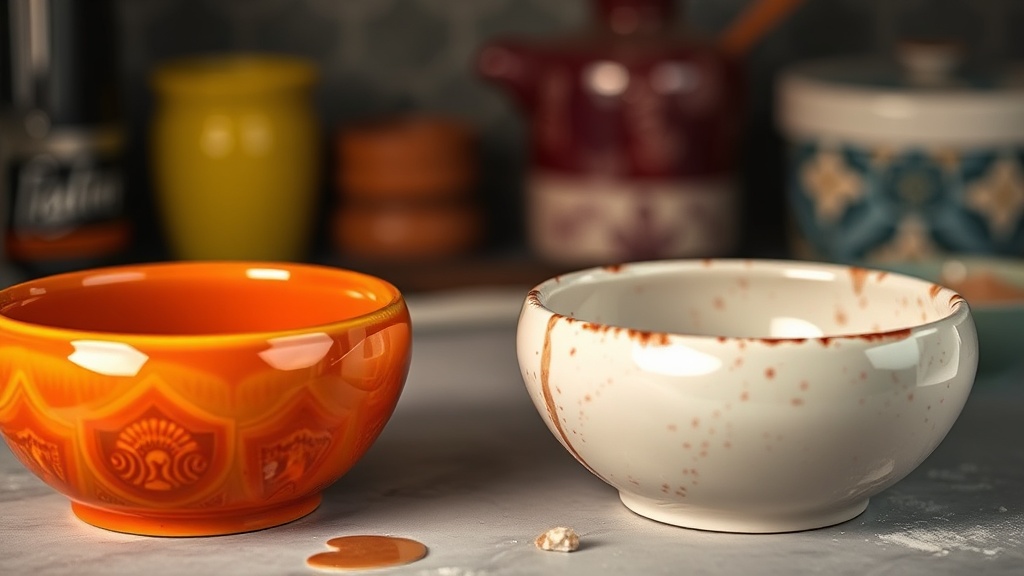
The most common culprit is the interaction between the glaze and the clay body underneath. A glaze doesn't just sit on top of a surface; it reacts with it. If you're using a high-iron stoneware clay with a white base glaze, that iron will bleed through and change the color. This is a chemical reaction, not a mistake. You might see a slight color shift even if you're using the exact same brand of glaze every time.
Another factor is the kiln atmosphere. If you are using an electric kiln, you are in an oxidation environment. If you're using gas or wood, you're in a reduction environment. A cobalt blue might look bright and crisp in an electric kiln, but in a reduction kiln, it can shift toward a deeper, more moody teal. Even the placement of your piece inside the kiln matters. The top shelf of a kiln often runs hotter than the bottom, which can lead to different melt levels and color intensities.
Can I control the texture of my glaze?
Control is a strong word in ceramics, but you can certainly influence the outcome. Texture is often a byproduct of how much the glaze flows during the firing process. If you want a more controlled, stable texture, you might look into glazes with higher alumina content. If you want that beautiful, dripping-edge look, you'll want a glaze with more fluxing agents.
One way to test this is by looking at the "melt" or the viscosity of the glaze. You can find technical breakdowns of how different minerals affect viscosity through resources like the Glazy Database, which is a fantastic tool for seeing how specific ingredients change the way a glaze behaves. It's not just about the color; it's about the physical behavior of the molten glass-like substance during the peak temperature phase.
How do I test a new glaze recipe?
Never apply a new glaze to a finished piece without testing it on a small, dedicated test tile first. A test tile should be more than just a scrap piece of clay; it needs to represent the actual clay body you intend to use. If you're making functional ware, test on the actual clay body that will be used for the final product. This ensures you see the true interaction between the glaze and the base material.
When you create these test tiles, try to vary one element at a time. This is a standard practice in many professional studios. For example:
- Test 1: Apply one layer of glaze.
- Test 2: Apply two layers of glaze.
- Test 3: Apply glaze to a piece with a different clay body.
This systematic approach—often called a controlled variable test—will tell you much more than just dipping a piece and hoping for the best. It turns guesswork into a repeatable process. For those interested in the deeper chemical side, the Ceramic Services site offers plenty of technical insights into how different oxides affect color and texture.
Common Variables in Ceramic Firing
To help you keep track of what might be going wrong, I've put together this quick reference guide for common variables:
| Variable | Effect on Glaze |
|---|---|
| Kiln Temperature | Higher heat can cause more melt or even run-off. |
| Clay Iron Content | Can darken or change the hue of light glazes. |
| Atmosphere | Oxidation vs. Reduction changes color-shifting oxides. |
| Cooling Rate | Slow cooling can lead to more crystal growth. |
It's also worth noting that the way you even wash your bisque-ware can affect the result. Any dust, skin oils, or leftover kiln wash can create tiny pinholes or bubbles in the glaze surface. A clean, slightly damp sponge to wipe down your bisque before glazing is a simple habit that pays off in the long run.
If you're seeing bubbles or "craters" in your glaze, you might be firing too fast through the quartz inversion stage or your glaze might have too much gas-producing material. Don't be discouraged when a batch goes wrong; instead, treat it as data. Every "failed" piece is a lesson in how your specific kiln and clay interact with your materials.