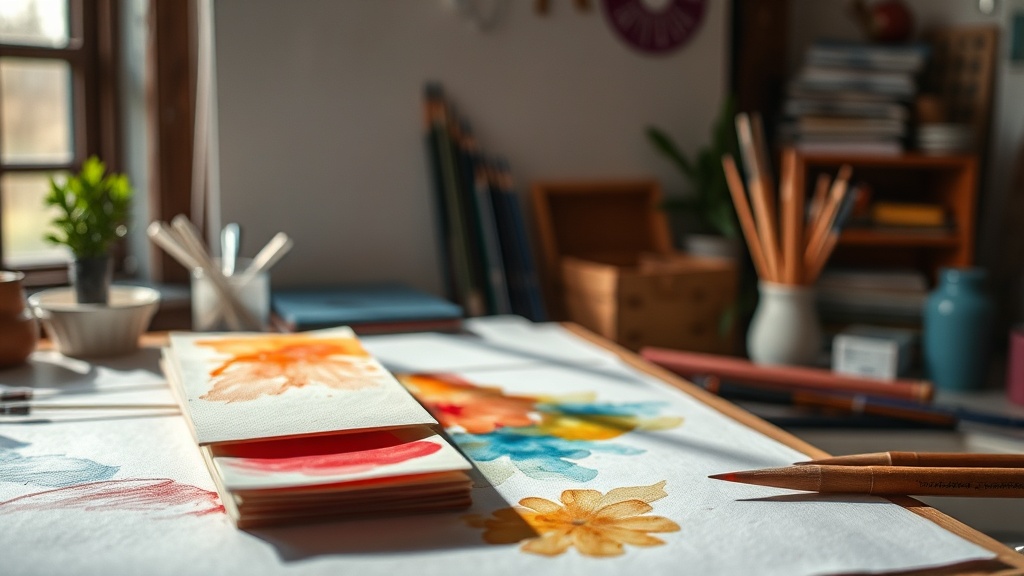
Why Your Watercolor Paper Selection Changes Everything

The Great Paper Myth
Most beginners believe that a mediocre watercolor set is the reason their paintings look flat or muddy. They blame the pigment, the brush, or the water quality. While those factors matter, the real culprit is almost always the paper. You can spend hundreds of dollars on professional-grade paints, but if you apply them to cheap wood pulp paper, you're fighting a losing battle. Paper isn't just a surface; it's a structural component of your painting. It dictates how water sits, how pigment travels, and how much detail you can actually achieve.
When you use low-grade paper, the water often beads up on the surface instead of soaking in. This creates those frustrating "cauliflower" edges where the pigment settles into a hard, unintended line. If the paper isn't strong enough to handle the moisture, it will warp, buckle, and eventually ruin the structural integrity of your work. Understanding the relationship between fiber and water is the first step to moving past the frustration of amateur results.
Is Cotton 100% Necessary for Watercolor?
If you've spent any time in a high-end art supply shop, you've likely seen the massive price gap between wood pulp paper and 100% cotton paper. Many people think cotton is just a marketing gimmick for professional artists, but there's a physical reason for the cost. Cotton fibers are much longer and more absorbent than the shorter fibers found in wood pulp. This means cotton can hold a massive amount of water without falling apart or warping immediately.
Think of it this way: wood pulp paper is like a sponge that's already full; it can't take much more. Cotton is like a thirsty, deep-well sponge. It allows for longer "wet-on-wet" sessions where colors can blend and flow across the page with much more control. If you want to experiment with soft gradients and ethereal washes, you'll find that wood pulp simply won't cooperate. For those looking for deep technical data on paper composition, the Archival Quality standards often explain why certain materials last longer than others.
- Wood Pulp (Cellulose): Cheaper, faster drying, more prone to buckling, better for quick sketches.
- 100% Cotton: More expensive, holds water longer, allows for complex blending, much more durable.
I've spent years testing both, and the difference is night and day. When I'm practicing quick studies, I don't mind the cheap stuff. But when I'm working on a piece that requires precision and subtle color shifts, I won't touch anything that isn't high-grade cotton. It's an investment in your ability to control the medium.
Which Paper Texture Should You Choose?
Texture (or "tooth") is another area where even experienced painters get tripped up. You'll often see three main types of texture: Hot Press, Cold Press, and Rough. Choosing the wrong one for your specific technique can make a project feel impossible.
Hot Press: This is a very smooth surface. It’s great for fine detail and botanical illustrations because the surface doesn't fight your brush. However, it's also very unforgiving; if you make a mistake, it's nearly impossible to fix.
Cold Press: This is the "standard" texture. It has a slight grain that catches the pigment. It’s the most versatile and is what I recommend for most general practice.
Rough: This has a heavy, aggressive texture. It's wonderful for expressive, heavy-handed painting, but it can be a nightmare if you're trying to paint tiny, delicate lines. It creates a lot of "white space" where the paint doesn't reach the valleys of the texture.
If you're interested in the chemistry of how pigments interact with these surfaces, checking out resources like Golden Artist Colors can give you a deeper look at material science in art. The way a pigment sits in the "valleys" of a rough paper versus on the "peaks" of a hot press paper changes the entire visual weight of the piece.
How Do I Prevent Paper Buckling and Warping?
Nothing kills a creative flow faster than a sheet of paper that's curling up at the edges like a dying leaf. This happens because the fibers are expanding as they absorb water. To stop this, you have to change your preparation process. You can't just pull a sheet out of a pad and start painting.
The most effective method is to "stretch" your paper. This involves wetting the paper thoroughly and then placing it between two wet blotters and two heavy boards under a weight. This forces the fibers to dry in a flat, stable position. If you don't want to go through the hassle of stretching, you should at least use masking tape or specialized painter's tape to secure the edges of your paper to a drawing board. This provides enough tension to keep the surface relatively flat while you work.
Another tip: always keep a stash of heavy-duty paper towels or a thirsty brush nearby. If you see a puddle forming that looks like it's about to overwhelm the paper, you need to lift it immediately. Water management is the secret to successful watercolor, and your paper's ability to handle that water is your primary tool. Don't fight the water; work with the capacity of your surface.
Comparison of Paper Types
| Type | Best For | Texture Level | Difficulty |
|---|---|---|---|
| Hot Press | Fine Detail/Botany | Low | High (Hard to fix) |
| Cold Press | General Painting | Medium | Low (Versatile) |
| Rough | Expression/Texture | High | Medium (Good for color) |
Stop looking at paper as a mere background. It is a partner in your creative process. If you treat it with respect and choose the right weight and texture for your goals, you'll find that your paintings suddenly start looking like the work you actually intended them to be. It's not about the paint—it's about the surface that holds the dream.