Creating Intricate Cyanotype Prints with Sun and Shadows

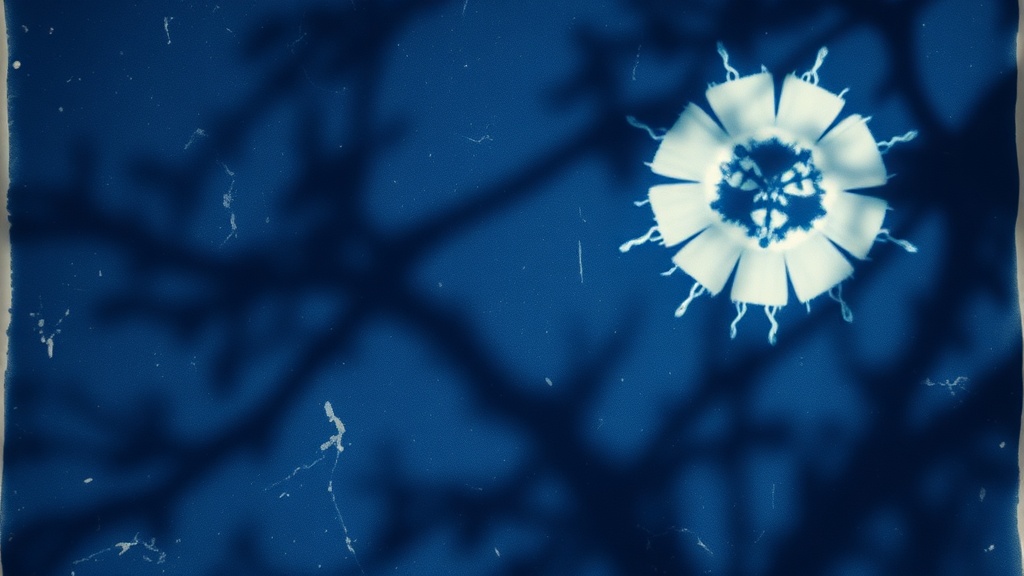
A single beam of sunlight hits a glass pane, casting a sharp, dark shadow of a fern leaf onto a piece of paper coated in a deep, Prussian blue liquid. This is the world of cyanotype—a 19th-century photographic printing process that relies on the sun to create permanent, striking imagery. This post explains how to master the chemistry and technique required to create high-contrast, intricate botanical prints using UV-sensitive salts. You'll find everything you need to know about the chemistry, the equipment, and the specific timing required to get those crisp edges.
Cyanotype isn't just a hobby; it's a way to freeze a moment in time using nothing but sunlight and water. It's surprisingly accessible, but if you don't respect the chemistry, you'll end up with muddy, indistinct shapes instead of sharp silhouettes. I've spent plenty of time experimenting with different paper weights and exposure times, and I've learned that the details are everything.
What Supplies Do I Need for Cyanotype?
You need a set of UV-sensitive chemicals, high-quality paper, and a light source to begin. Most enthusiasts start with a standard kit containing Potassium Ferricyanide and Ferric Ammonium Citrate. You can find these at specialty art suppliers or through scientific chemical distributors like Wikipedia's documentation on the process to understand the chemical reaction. You'll also need a brush, a dark room or a very dim space, and a way to expose the print to UV rays.
Here is a breakdown of the essential gear:
- The Chemicals: Potassium Ferricyanide and Ferric Ammonium Citrate (the "sensitizer").
- The Paper: Heavyweight watercolor paper works best because it absorbs the liquid without warping too much.
- The Brush: A wide, soft-bristled brush for even coating.
- The Exposure Surface: A glass pane or an acrylic sheet to hold your botanical subjects flat against the paper.
- The Light Source: Direct sunlight is best, but a UV lamp can work on cloudy days.
Don't bother using cheap printer paper. It's too thin and won't hold the pigment properly. If you want professional results, look for 300gsm cotton-based paper. It makes a massive difference in how the blue settles into the fibers.
How Do You Prepare the Sensitized Paper?
The preparation involves mixing two chemical solutions and coating the paper in a dark environment. You'll mix the Ferric Ammonium Citrate and the Potassium Ferricyanide separately, then combine them to create your "sensitizer." This is where most people trip up—if you do this in a bright room, you'll ruin your batch before you even start.
First, prepare your workspace. You want a tray or a flat surface that is easy to clean. Dip your brush into the sensitized solution and apply it to the paper in thin, even strokes. Don't let the paper get too "wet"—you want a thin coating, not a puddle. Once the paper is coated, you must let it dry in a completely dark space. If even a little bit of light hits it during the drying phase, the paper will start to react prematurely.
I've found that using a hair dryer on a low, cool setting can speed up the drying process, but be careful. If you blow the paper around, you'll get uneven spots. It's better to just let it sit in a dark drawer for an hour. If you're interested in how to handle delicate materials, you might want to check out my guide on keeping sketchbook pages flat and smooth, as paper-handling skills translate well here.
What Is the Best Way to Arrange Botanicals?
Placement is about creating a balance between shadow and light. You want to place your objects—leaves, flowers, or even lace—directly onto the sensitized paper. The goal is to ensure there is no gap between the object and the paper, or the light will bleed underneath, creating a blurry edge. Use a heavy sheet of glass or a clear acrylic sheet to press the objects down firmly.
The more detail the object has, the more impressive the final print will be. A thin, delicate fern leaf will produce a much more intricate silhouette than a thick, waxy leaf. If you're using found objects, make sure they are dry. Any moisture trapped under the glass can cause the paper to buckle or create "halos" around your shapes.
If you're looking for inspiration, you might enjoy creating botanical prints with found foliage, which uses a slightly different approach but shares the same love for natural silhouettes.
Comparison of Exposure Methods
| Method | Best For | Pros | Cons |
|---|---|---|---|
| Direct Sunlight | Outdoor enthusiasts | Highest UV intensity; free | Unpredictable timing (clouds/time of day) |
| UV Lamp (UVB/UVA) | Indoor/Controlled setups | Consistent, repeatable results | Requires specialized equipment |
| Subtle, soft prints | Less chance of "burnt" edges | Very long exposure times |
How Long Should You Expose the Print?
Exposure time varies wildly based on the strength of the UV light and the temperature. On a bright, sunny afternoon, a print might only need 5 to 10 minutes. Under a UV lamp, it might take 20 minutes or more. There is no single "correct" time, so you'll need to run a few test strips to find your specific setup's sweet spot.
Watch the color change. The paper will turn from a pale yellow/green to a dull, brownish tint as it's exposed to light. This is the "exhausted" look. Once the paper looks sufficiently "cooked," it's time to move to the development stage. Don't wait too long, or you'll lose the detail in the shadows. If you overexpose, your highlights will become too dark and you'll lose the subtle textures of the plant.
One thing to watch out for: the temperature. If the paper gets too hot under the sun, the chemicals can react too quickly. If you're working in a very hot climate, you might need to use a slightly more diluted solution. It's a bit of a balancing act.
How Do You Develop the Print?
Development is a simple water wash that reveals the blue pigment. Once you remove your botanical objects and the glass, place the paper in a tray of plain, cool water. As you submerge the paper, the unexposed (yellowish) areas will wash away, leaving behind the deep Prussian blue in the areas that were hit by the sun. The areas covered by your objects will remain white or pale.
Rinse the paper thoroughly. I usually do a two-stage rinse. First, a quick soak in a shallow tray to get the bulk of the chemicals out, and then a second, longer rinse under a running tap. This ensures that no residual chemicals are left to oxidize later, which can cause the print to turn a weird brownish-blue over time. The more thorough your rinse, the longer your print will last.
To get that deep, rich blue, you can even add a splash of hydrogen peroxide to the water during the final rinse. The peroxide acts as an oxidizing agent and will instantly turn the print a much more vibrant, dark blue. It's a bit of a "magic trick" moment—the color changes almost instantly when the peroxide hits the paper.
Once the color is where you want it, lay the paper flat to dry. You can use clips to hang it or lay it on a drying rack. If you're using high-quality paper, try to keep it as flat as possible during this stage to avoid curling. If you're ever unsure about how to handle your paper during the drying process, you can look back at my tips for keeping paper smooth.
The final result is a piece of art that feels both ancient and modern. There's something deeply satisfying about seeing a complex shape emerge from a plain sheet of paper through nothing but light and chemistry. It’s a process that requires patience, but the payoff—that striking, deep blue silhouette—is well worth the wait.
Steps
- 1
Prepare your surfaces and botanical elements.
- 2
Coat your paper or fabric with the light-sensitive solution.
- 3
Arrange your subjects on the treated surface.
- 4
Expose to direct sunlight for several minutes.
- 5
Rinse the print in water to set the image.